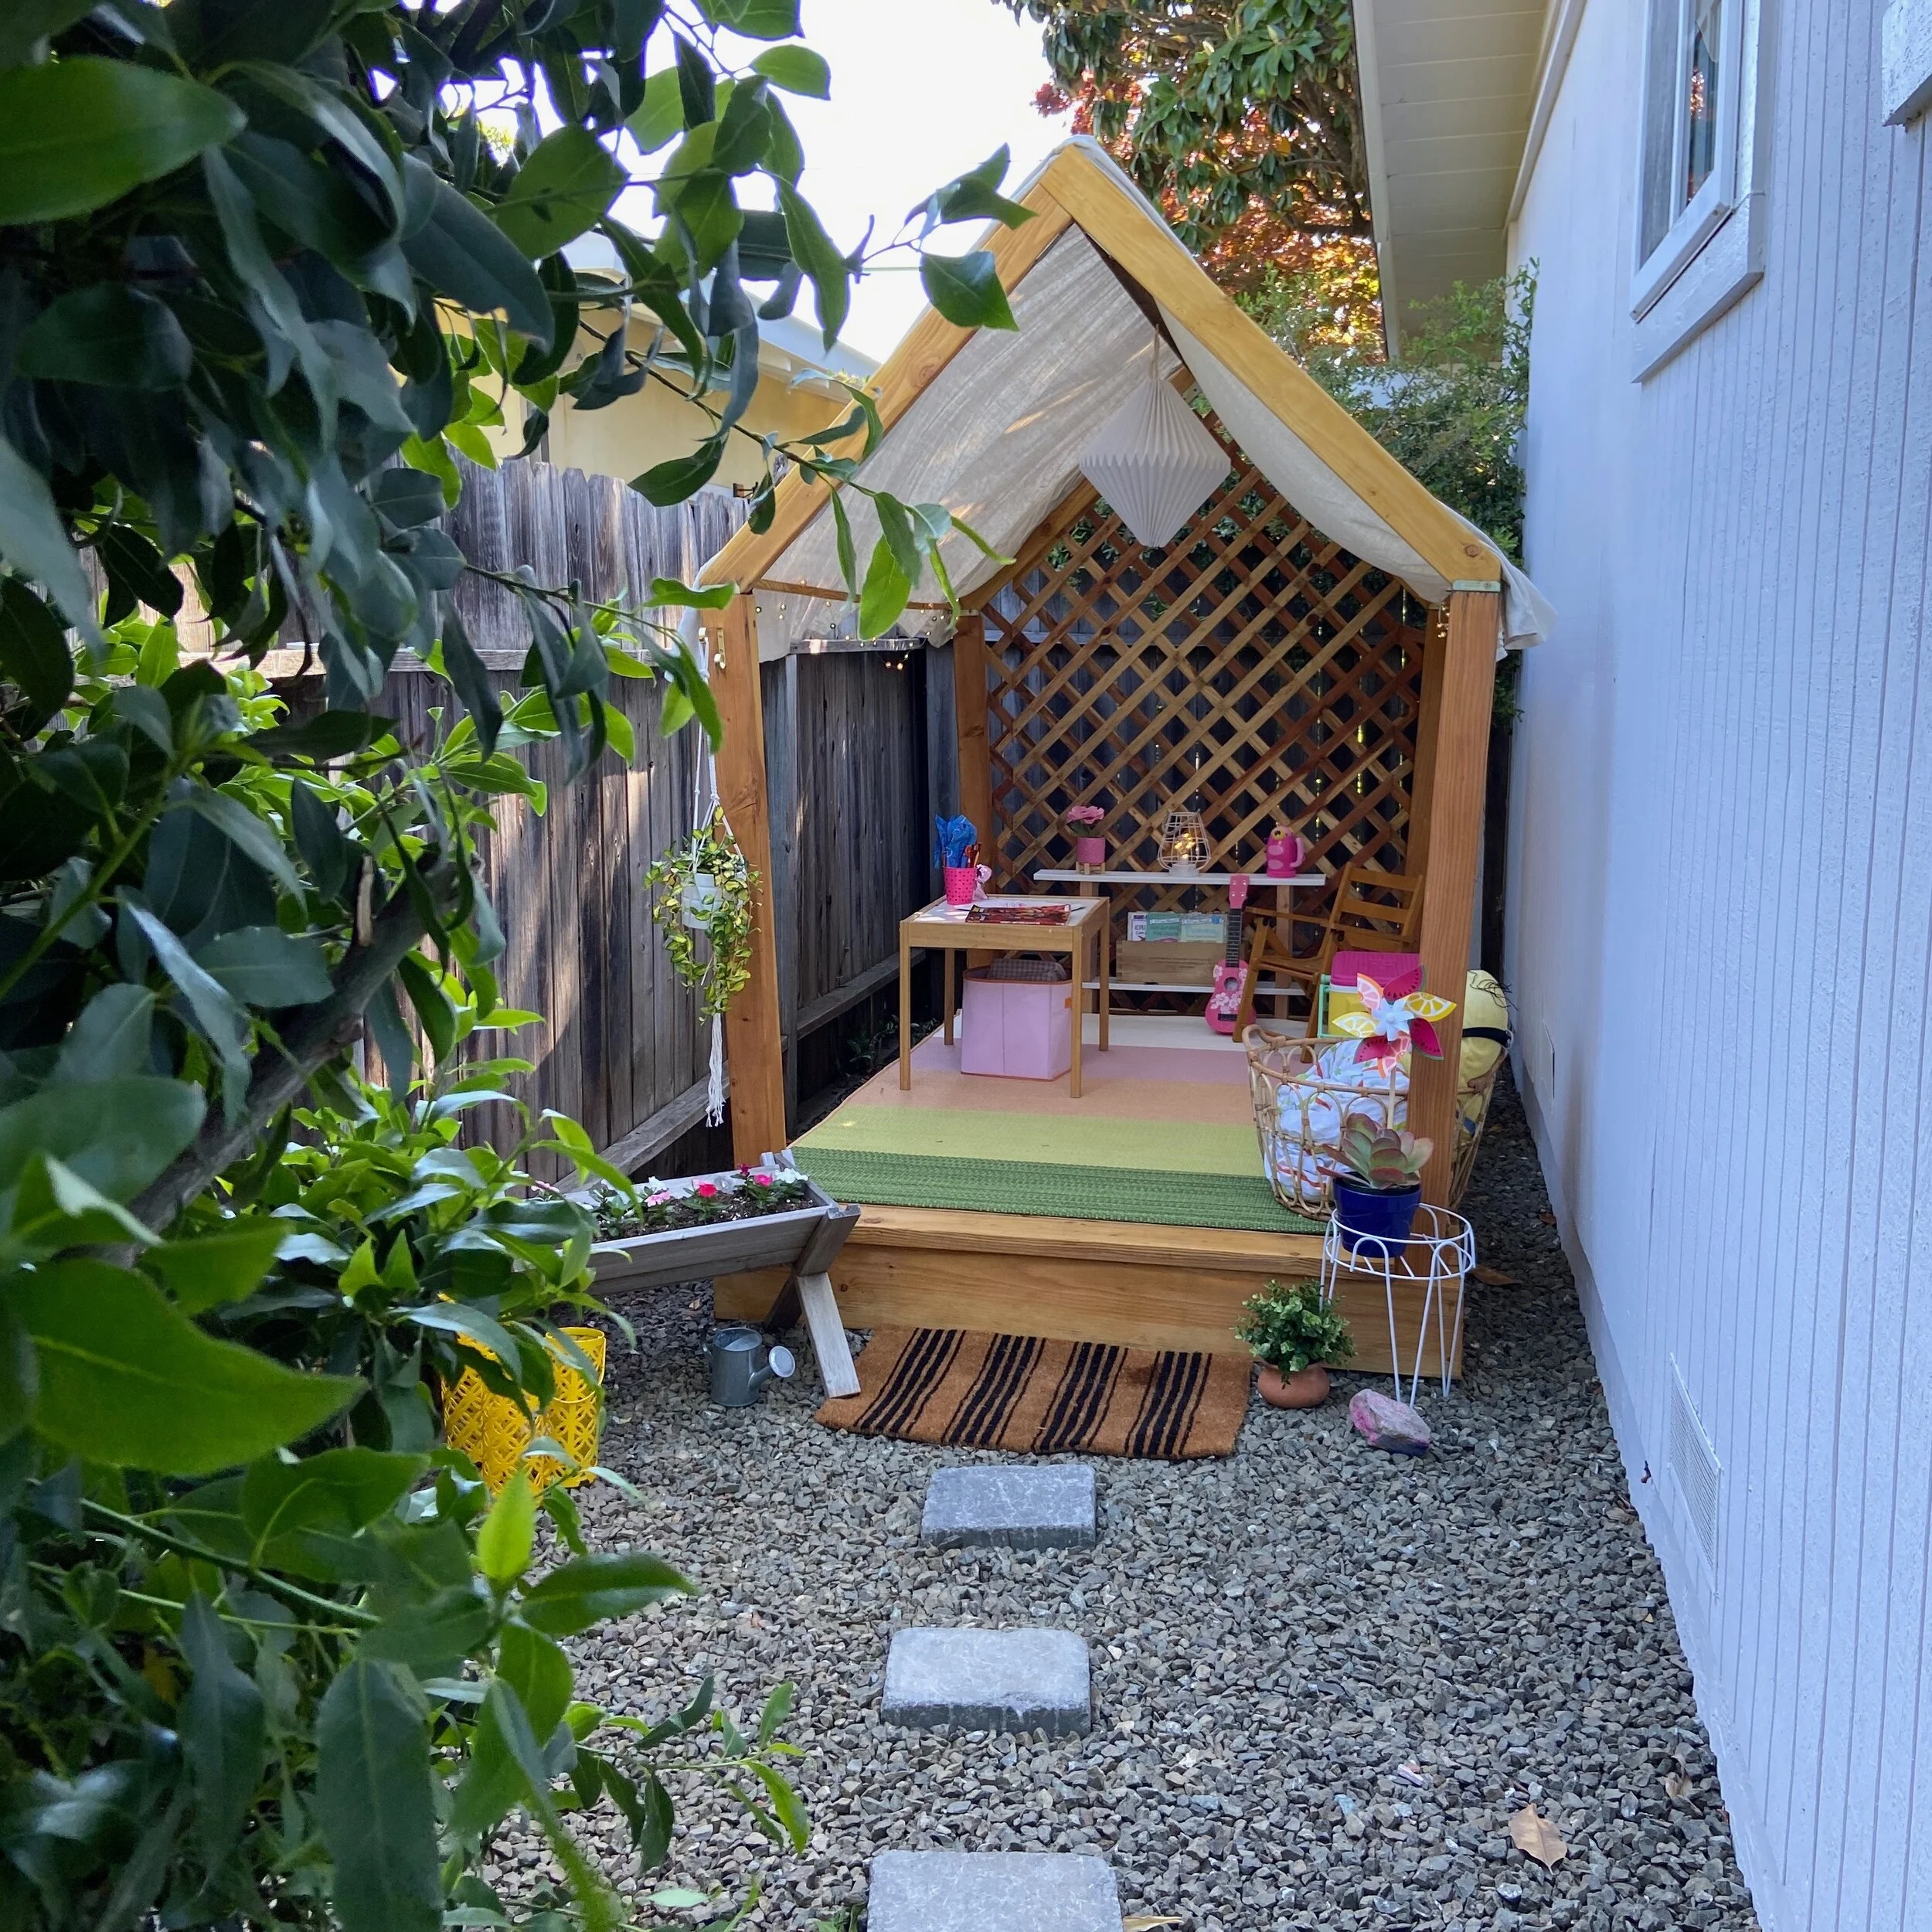
DIY Play House
A weekend of work for years of fun.
So my precious and crazy cat likes to wake us at 5:45am for water and food. It’s insanity but it’s our life. Most days I fall back asleep but on one particular Saturday I couldn’t. I started looking on my phone and fretting about what life at home ALL summer looks like. My daughter LOVES her dolls and playing as their mama is one of her favorite pastimes. She had said she wanted to try to make a house for them and it got me thinking…she would enjoy a playhouse.
Cue rabbit-hole. I fell in it searching and realized a few things - most playhouses are too short for her tall body, ugly or insanely expensive. Also, my childhood memories of friends’ playhouses are mostly terror filled with what spider breeding grounds they became. I wanted an option that we could HOSE off.
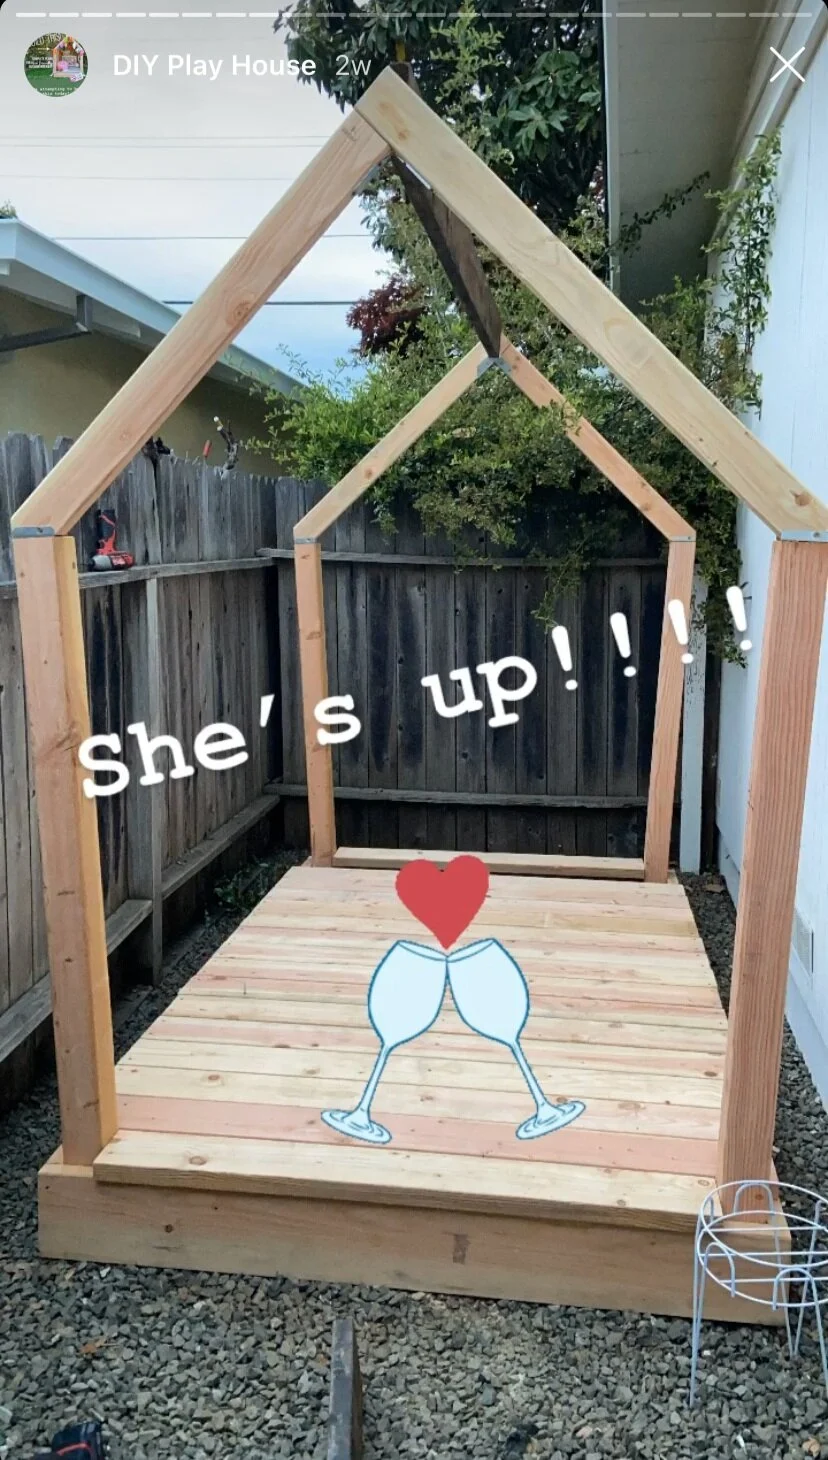
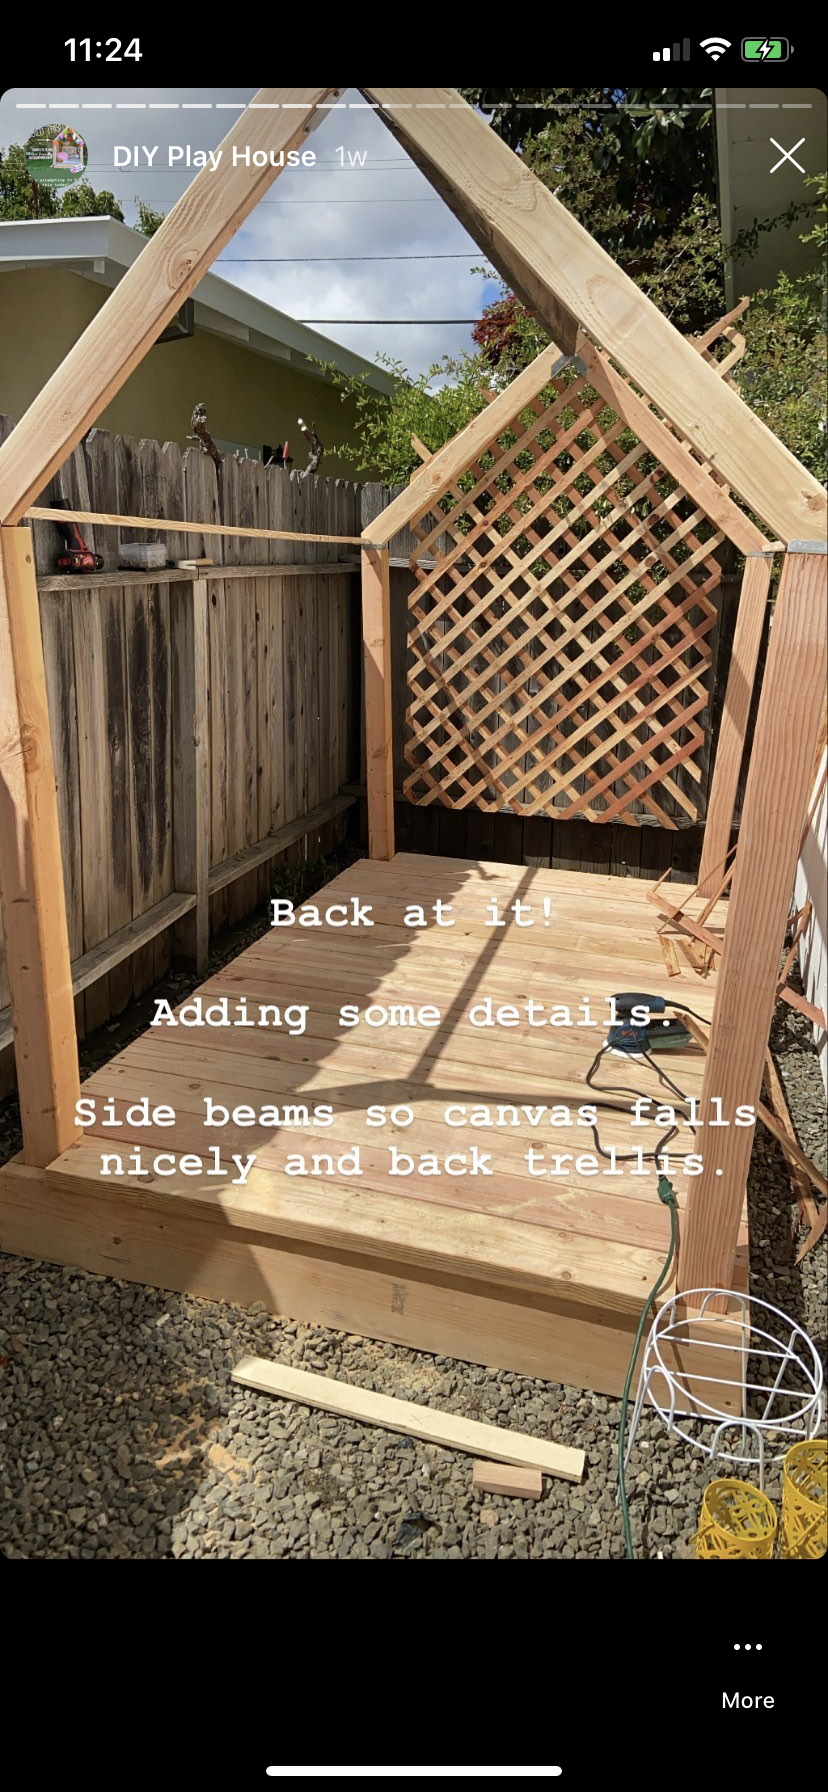
VintageRevivals.com had DIY plans for a “Summer Reading Nook/Outdoor Hideaway” that looked exactly like what I wanted. The plans were comprehensive and simple. My husband and I aren’t experienced woodworkers but these plans really made me feel like we could do it. I emailed the plans to him and when he woke he got inspired. By 10:30am he was headed to Home Depot and by 1:30pm we were starting on the frame. We finished Sunday late afternoon but waited to weather seal until after a short rainstorm passed.
Our daughter loves it and we love it too. We’ve transformed an unused area of our backyard into her secret hideaway and given ourselves confidence to try harder projects.
I’m still playing with styling her house. While she does legos and dolls in there, I have a blast finding new battery operated lanterns or cute decor. Searching for the perfect beanbag to cozy it up more, now. Also, we moved our wifi router so the signal reaches her house. She uses the space to FaceTime her friends, family and play on her iPad. (Yes, screen time outside isn’t ideal…but mom needs a break.)
Highly recommend these plans - linked here - and sharing below what we learned in the process.
*Get the wood cut for you! While we had to do small trims at home, the majority was cut at Home Depot for a small fee. This made the process quicker and almost like an Ikea build.
*Two power drills/screwdrivers are key. We both had one and could work on different areas at the same time.
*Get more screws than you think you need. We had to run out for more halfway through.
*Use a large canvas drop cloth for an inexpensive roof and siding.
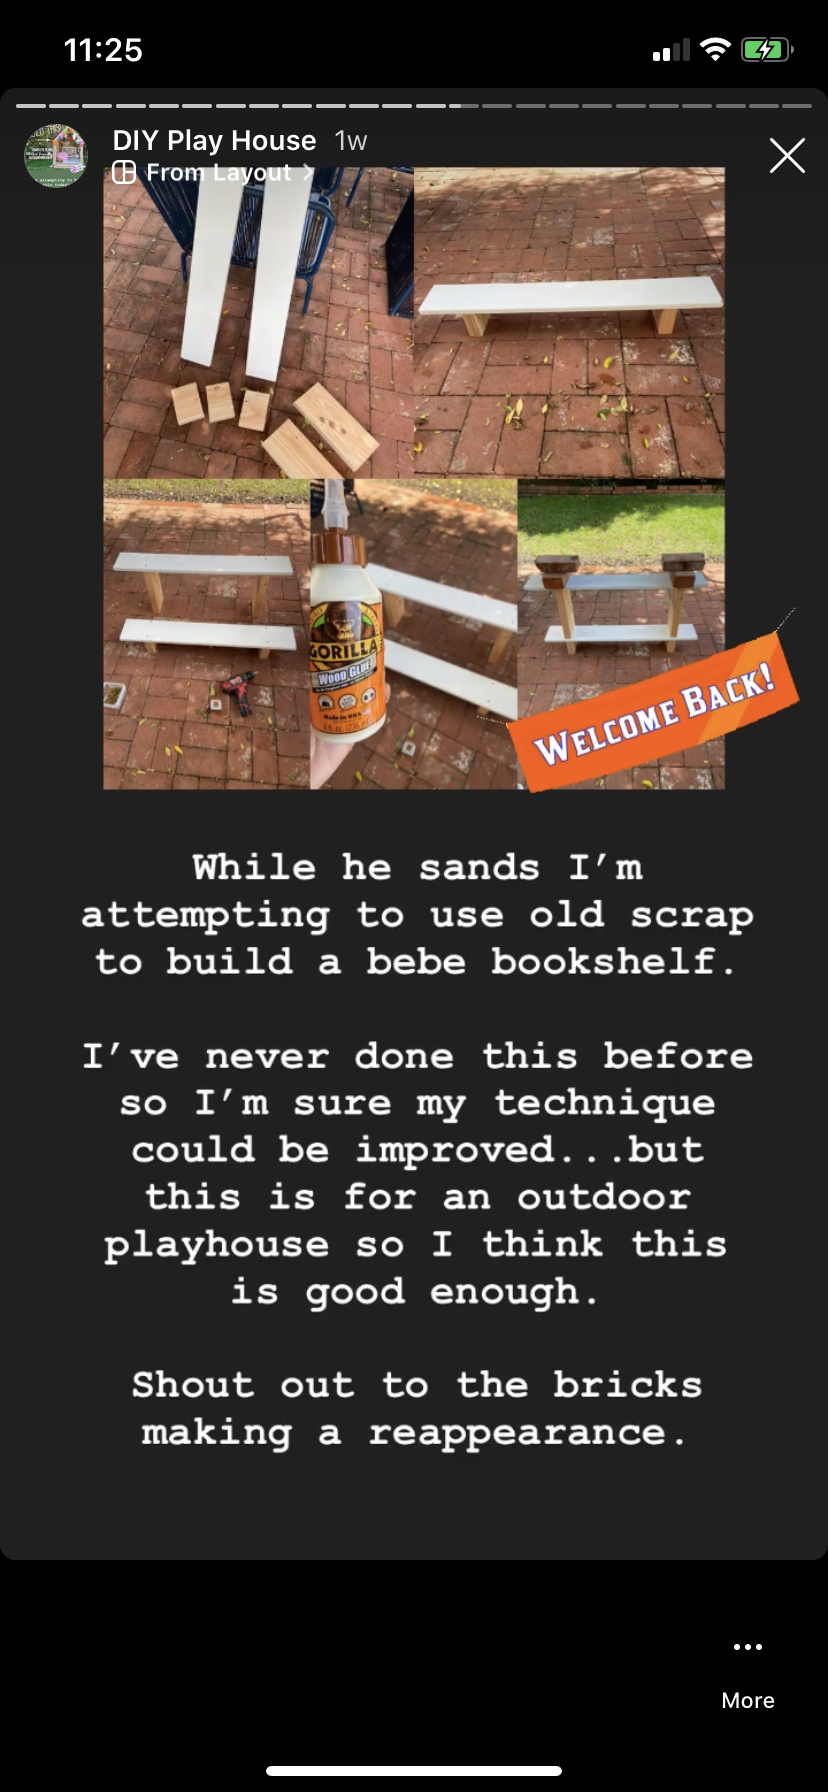
Items inside: Battery Powered Lantern, Igloo Cooler, Ikea table, Target Project 62 rug.
Hit me up if you have any other questions - I’m happy to share more. The process is saved in my personal instagram story highlights (before I had sorted_em insta)


